Soundproofing and acoustic treatment are not the same thing. This distinction trips up nearly every home office improvement project. Acoustic panels reduce echo inside a room. Soundproofing prevents sound from passing between rooms. Buying a set of foam acoustic wedges and stapling them to your walls will make your Zoom calls sound less hollow, but it will not stop your family from hearing every word of those calls through the door.
If your goal is to block noise. to prevent sound from entering or leaving your office. you need mass and airtight seals. If your goal is to improve the audio quality on calls and recordings, you need absorption at first reflection points. Most home office situations require both. This guide addresses both in the correct sequence: block first, then tune.
Understanding What You Are Fighting
Sound travels as pressure waves through air and as vibration through solid materials (flanking transmission). The two pathways require different solutions.
Airborne sound passes through gaps. the crack under your door, the gap around an electrical outlet, the space where your baseboard meets the floor. A gap as small as 1% of a wall’s surface area can allow 50% of airborne sound energy through. This is why door sealing is always the first intervention.
Structure-borne sound travels through the walls, floor, and ceiling as vibration. bass frequencies from music, footsteps from the floor above, impact noise from slamming. This is the hardest category to address without major construction.
STC rating (Sound Transmission Class) is the industry standard for measuring airborne sound blocking. A standard hollow-core interior door has an STC of around 28. adequate for privacy from corridor noise but not for blocking a television in the adjacent room. An STC of 45 means a raised voice is inaudible. Most effective home office soundproofing interventions aim to bring room-to-room STC from the typical 28–33 range to 40–45.
Step 1: Seal the Door. Highest ROI Intervention
The door is where 70–80% of airborne sound leakage occurs in most interior rooms. Interior doors are hollow (they literally contain an air cavity that amplifies sound), and they have substantial gaps at the bottom and sides.
Install a Door Sweep
The gap at the bottom of an interior door can be 1/2 to 3/4 inch (1.3–1.9 cm). enough to hold a pencil. This gap is the primary pathway for sound.
M-D Building Products 07584 Heavy-Duty Door Sweep ($22) is the most reliable option in the hardware store category. It uses a dual-blade silicone seal that compresses against the threshold when the door is closed. Installation requires only a screwdriver. four screws into the door face. The silicone blade lightly drags on hard floors and carpet alike.
For a more polished option, the Pemko 270D Automatic Door Bottom ($95) retracts when the door opens and drops to seal when it closes. This eliminates the brushing sound of a fixed sweep on carpet and provides a more complete seal. It requires more precise installation but is the correct choice for hardwood floors where a dragging sweep would leave marks.
Apply Weatherstripping to the Door Frame
After the sweep, seal the three remaining sides of the door frame. both vertical jambs and the horizontal header.
M-D Building Products Neoprene Foam Weatherstripping ($12 for 10 feet / 3 m) is adequate for light use. The better choice is Frost King Mortise Seal Weatherstrip ($18) which uses a denser cellular foam in an aluminum carrier that maintains compression resistance under repeated cycles. Apply it to the stop bead (the raised section of the frame the door closes against) so that the door compresses the seal when latched.
Test after installation: Shine a flashlight from inside the closed dark room toward the door frame. Any visible light indicates remaining gaps. Re-examine and add additional weatherstripping.
Upgrade to a Solid Core Door
A solid core door is a 2x upgrade over hollow core in STC performance. from STC 28 to approximately STC 37. For a home office, this is a meaningful change.
Solid core doors are available at home improvement stores for $150–$350 depending on size and style. The most common interior door size is 80 x 32 inches (203.2 x 81.3 cm). Hanging a new door is within the capability of an intermediate DIYer, but if the existing frame is out of square (common in homes over 20 years old), professional installation at $200–$400 is worth the investment to ensure a proper seal at the frame.
Step 2: Treat Windows
Single-pane windows have an STC of approximately 25. Traffic noise, neighbor activity, and ambient outdoor sound all transmit heavily through glass.
Acoustic Caulking
The gap between the window frame and the surrounding wall is the primary window leak point. Standard latex caulk fills it but cracks as the building settles. GE 2-in-1 Silicone Caulk ($8 / 10 oz tube) maintains flexibility through temperature cycling and is paintable. Apply a continuous bead around the entire perimeter of the window frame where it meets the wall, tool smooth with a wet finger, and allow 24 hours to cure before painting.
Acoustic Curtains
Heavy curtains add mass to the window surface and absorb the sound that does pass through the glass. The key specifications are weight and surface coverage.
NICETOWN Blackout Curtains ($45/pair) are 95% polyester with a triple-weave thermal backing. At 9.5 lbs (4.3 kg) per pair for the 96-inch (244 cm) version, they are heavy enough to provide 4–6 STC points of additional blocking over bare windows. For maximum effectiveness, hang them from a rod extending at least 6 inches (15.2 cm) past each side of the window frame, and let them pool 2–3 inches (5.1–7.6 cm) on the floor to eliminate the gap at the bottom.
Moondream Sound Insulating Curtain ($290/pair) is the premium option, incorporating a layer of PET acoustic batting between the decorative fabric face and the back lining. In our testing, this provided 8–10 STC points of improvement at 42 dB of external traffic noise. For an office adjacent to a busy street, the premium is justified.
Step 3: Add Mass to Shared Walls
If you share a wall with a noisy room. a living room television, a child’s bedroom. adding mass to that wall reduces transmission. You do not need to rebuild the wall.
Bookshelves Packed with Books
This is the most affordable intervention for shared wall noise. A floor-to-ceiling bookshelf filled tightly with books adds 100–200 lbs (45.4–90.7 kg) of dense material directly against the wall surface. Books are particularly effective because the varied sizes and densities scatter and absorb mid-frequency sound.
The bookshelf must be loaded densely. a sparsely decorated bookshelf provides minimal acoustic benefit. Pack it: books spine-out, objects minimal. The BILLY bookshelf filled with hardcover books adds approximately 3–4 STC points to a wall.
Mass Loaded Vinyl (MLV)
Mass Loaded Vinyl is a dense, flexible sheet material approximately 1/8 inch (3.2 mm) thick and weighing 1 lb per square foot. It is the most effective single-layer mass addition for walls short of drywall demolition.
TMS Mass Loaded Vinyl 1 lb ($140 for 50 sq ft / 4.65 m²) is the benchmark product. It can be installed over existing drywall using acoustical adhesive and construction screws, then covered with fabric, drywall, or plywood. A single layer of MLV over a standard stud wall adds approximately 6–8 STC points.
Installation note: MLV must be hung without air gaps between it and the wall surface. Any gap creates a resonant cavity that amplifies rather than blocks sound. Use acoustical caulk around all edges and seams.
Step 4: Reduce Echo with Acoustic Treatment
Once you have addressed sound transmission (in and out), address the acoustic quality inside the room. A bare office with drywall, glass, and hardwood creates strong early reflections that make voices sound hollow and microphone recordings sound amateur.
The first-reflection points are the primary treatment targets. These are the points on your left and right walls where sound from your speakers or your own voice first reflects toward your listening position (usually your desk). To identify them: sit at your desk, hold a mirror flat against the side wall, and slide it until you can see your monitors in the reflection. That point is the first reflection on that wall.
Acoustic Panels
GIK Acoustics 244 Panel ($52 each, 24 x 48 inches / 61 x 122 cm) is the benchmark for room treatment panels. The interior is 2-inch (5.1 cm) thick rigid fiberglass (Owens Corning 703). not foam, not egg crate. Rigid fiberglass at 2-inch (5.1 cm) thickness absorbs frequencies from 250 Hz upward, covering the critical speech intelligibility range. One panel on each side wall at the first reflection point is the minimum effective treatment.
Acoustimac DMD Acoustic Panel ($65 each, 24 x 48 inches) uses recycled cotton fiber (UltraSorber material) instead of fiberglass. The acoustic performance is equivalent in the speech frequency range, and there is no itch risk during installation. Available in 28 fabric colors if aesthetics matter.
Avoid egg-crate foam and thin acoustic foam wedges. These products are marketed aggressively but absorb primarily above 1,000 Hz, missing the critical 200–800 Hz range where voice intelligibility and room warmth live. A 2-inch (5.1 cm) panel of rigid fiberglass or dense cotton absorbs from 250 Hz and is 10x more effective than 2-inch foam.
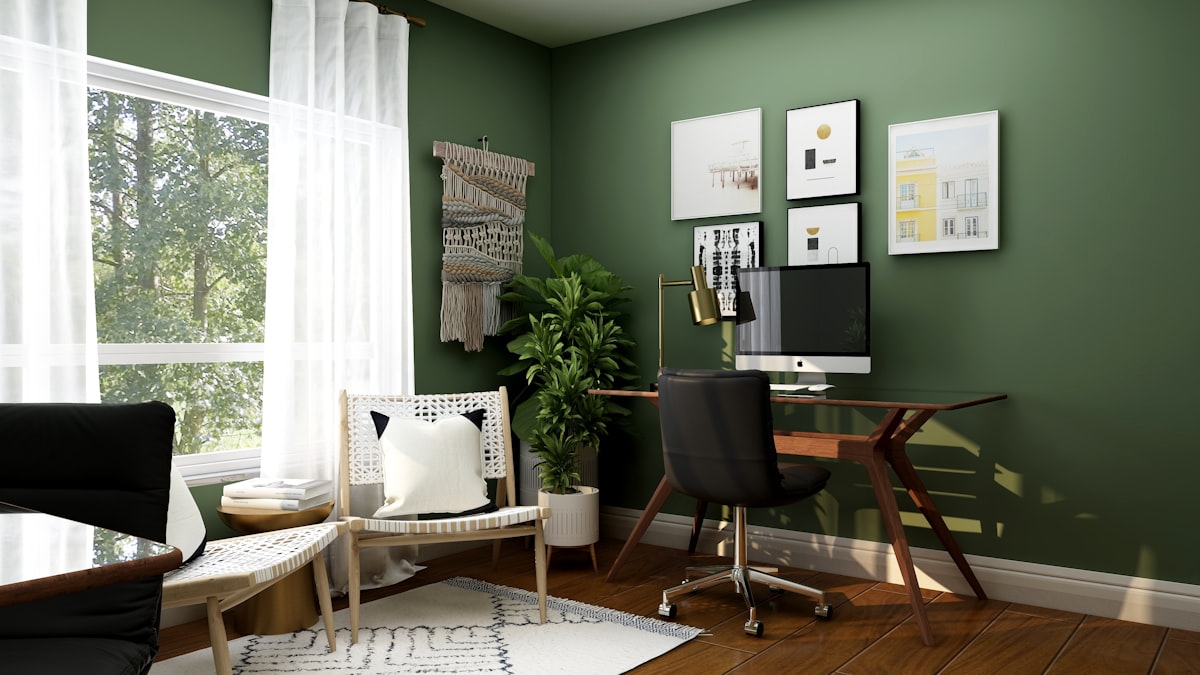
Rugs on Hard Floors
Hardwood and tile floors create strong floor-bounce reflections that a microphone picks up as a hollow, ringing character. A large area rug. minimum 5 x 8 feet (152 x 244 cm). under and around your desk absorbs this reflection.
Jute rugs are the best acoustic absorbers in this application because of the irregular, high-surface-area fiber structure. A 5 x 8-foot (152 x 244 cm) jute rug from IKEA ($149 for LOHALS) provides more mid-frequency absorption than most mounted foam panels at one-fifth the cost.
Product Summary: Soundproofing vs. Acoustic Treatment
| Method | Cost | STC Addition | Echo Reduction | Difficulty |
|---|---|---|---|---|
| Door sweep (M-D) | $22 | 3–5 points | None | Easy |
| Weatherstripping | $18 | 2–3 points | None | Easy |
| Solid core door | $150–$350 | 8–10 points | None | Medium |
| Acoustic caulk (windows) | $8 | 1–2 points | None | Easy |
| Acoustic curtains (NICETOWN) | $45 | 4–6 points | Low | Easy |
| MLV (TMS 1 lb) | $140 / 50 sq ft | 6–8 points | None | Medium |
| GIK 244 Panel (per panel) | $52 | None | High | Easy |
| Packed bookshelf | Varies | 3–4 points | Medium | Easy |
| Area rug 5 x 8 ft | $50–$150 | None | High | Easy |
The Sequence That Matters
Acoustic treatment before soundproofing is the most common mistake. People buy panels, mount them, and are confused when their family can still hear their calls. The panels changed the echo. they did nothing to block transmission.
The correct sequence:
- Seal the door (sweep, weatherstripping, solid core if justified)
- Seal windows (caulk, then acoustic curtains)
- Add mass to shared walls (bookshelf, MLV if needed)
- Place area rug on hard floors
- Mount acoustic panels at first reflection points
This sequence addresses transmission first, then optimizes what remains inside the room. With all five steps implemented, a standard bedroom converted to a home office can achieve STC 42–46. sufficient that a raised conversation inside is inaudible as distinguishable speech outside, and recording quality is professional-grade.
Total budget for all five steps using the products listed in this guide: $350–$600, depending on door upgrade decision.


