The central problem with open concept spaces is that they make furniture arrangement feel optional. Without walls defining rooms, the temptation is to push everything to the perimeter and leave the middle empty. The result is a room that functions like a hotel corridor: large, vague, and somehow uncomfortable despite the square footage.
Open concept spaces work when they contain multiple distinct zones that feel complete at their own scale. The living area should feel like a room. The dining area should feel like a room. The kitchen should feel like a kitchen. The open plan does not make these zones disappear. It removes the walls between them. Your job is to put back the sense of enclosure without the walls.
The Zone Principle
Define every zone before placing a single piece of furniture. In a typical combined living-dining-kitchen space, you have three zones. Each zone needs an anchor, a boundary, and an appropriate furniture scale.
Anchor: The fixed feature that gives the zone its orientation. For living, this is usually a fireplace, television, or significant window. For dining, it is the table. For kitchen, it is the range and island. Every zone has an anchor even in a blank room; the anchor is the piece or feature the other elements respond to.
Boundary: What tells you where one zone ends and another begins. Without walls, boundaries come from rugs, furniture placement, and changes in ceiling treatment. A rug under the living room seating group defines the living zone. The gap between the sofa and the dining table defines the circulation path between zones.
Scale: Furniture scaled for the zone, not the full room. An open concept living-dining space of 600 square feet does not require a 12-foot (366 cm) sofa. It requires a sofa scaled for a living room of approximately 250–300 square feet (23–28 sq m), which is what the living zone effectively occupies.
Step 1: Define Your Traffic Flow First
Before any furniture placement, identify your primary traffic paths. In a combined living-kitchen-dining space, traffic flows in three directions:
- Entry to kitchen
- Entry to living area
- Living area to dining area
Each path needs 36 inches (91 cm) of clearance minimum. 42 inches (107 cm) is comfortable. 48 inches (122 cm) is generous. Mark these paths on a floor plan sketch or use tape on the floor before moving furniture. Any piece that blocks a primary path creates a room that feels difficult to navigate, regardless of how good it looks in a photo.
Secondary paths, from the sofa to the coffee table to the dining table, need 18 inches (46 cm) minimum. This is the standard clearance between a sofa and coffee table: enough to pass without turning sideways, not so much that reaching forward from the sofa requires leaning.
Step 2: Anchor the Living Zone with a Rug
The rug is the most important single decision in an open concept space. It defines the living zone visually and sets the scale for all furniture within it.
The rug must be large enough for all primary seating to have legs on it. A 3-piece seating arrangement (sofa plus two chairs) on a rug that only fits the sofa creates an incoherent floating effect. At minimum, the rug should accommodate all front legs of all seating. All-legs-on is better.
Standard rug sizes for living zones in open concept spaces:
| Room width | Rug size |
|---|---|
| Under 12 ft (366 cm) | 8×10 ft (244×305 cm) |
| 12–15 ft (366–457 cm) | 9×12 ft (274×366 cm) |
| Over 15 ft (457 cm) | 10×14 ft (305×427 cm) |
The rug should not touch the walls. A minimum of 12 inches (30 cm) of bare floor between the rug edge and any wall or zone boundary keeps the rug grounded within the zone rather than filling the full space.
For more on rug sizing and placement, our rug size guide has specific diagrams for different seating configurations.
Step 3: Float Furniture Away from the Walls
The wall-hugging instinct is wrong in open concept spaces. Pushing all furniture to the perimeter creates a large empty center that reads as wasted space, and eliminates the sense of zone definition that makes open plans work.
Float the sofa. Position it with its back facing the dining or kitchen zone, not against the wall. This creates the back boundary of the living zone: the sofa back acts like a low visual wall between living and dining without blocking sightlines. The standard position is with the sofa back 12–18 inches (30–46 cm) from the wall behind it.
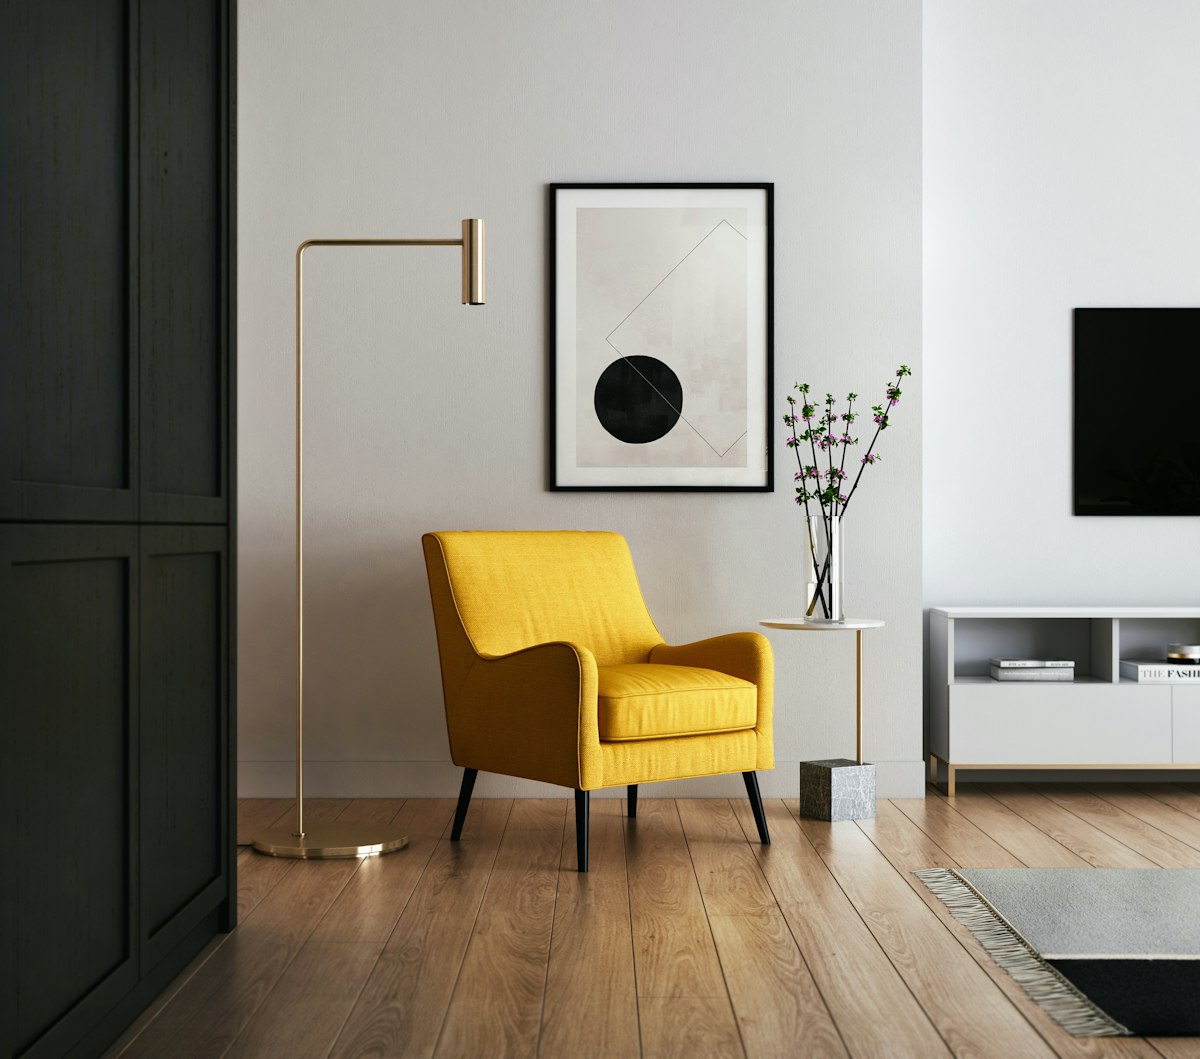
A sofa floated in this position makes the living zone feel contained and intentional. It also creates a useful narrow zone between the sofa back and the wall that can accommodate a console table, a floor lamp, or a plant.
Step 4: Set the Dining Table Parallel to the Kitchen
Dining tables in open concept spaces almost always perform better when positioned parallel to the kitchen counter or island. This maintains the sightlines between kitchen and dining, which is the primary functional advantage of an open plan: the cook and the diners are in visual and conversational contact.
A dining table perpendicular to the kitchen forces the cook to turn sideways to see the table and creates an awkward geometry where the kitchen zone and dining zone are in conflict rather than dialogue.
Clearance around the dining table:
- Chair pulled out and occupied: 36 inches (91 cm) from table edge to any obstruction
- Circulation path behind occupied chairs: 44 inches (112 cm) preferred, 36 inches (91 cm) minimum
These clearances determine whether a dining area feels generous or cramped. Measure them before selecting a table size. A standard 36×72 inch (91×183 cm) dining table for six requires a minimum dining zone of 9×13 feet (274×396 cm) including clearances.
Step 5: Manage the Visual Depth Between Zones
Open concept spaces work best when you can see through them, but some degree of visual interruption between zones creates comfort. A completely unobstructed 40-foot (12 m) sightline from entry to far wall feels like a hallway, not a home.
Use furniture height to manage depth:
- Low furniture (under 30 inches / 76 cm): Maintains open sightlines. Coffee tables, ottomans, accent chairs. Use throughout the living zone.
- Mid-height furniture (30–48 inches / 76–122 cm): Creates zone boundaries without blocking views. Sofa backs, bookshelves, credenzas. Position these at zone boundaries.
- Tall furniture (over 48 inches / 122 cm): Use sparingly and deliberately. A bookshelf over 60 inches (152 cm) creates a near-wall effect if positioned perpendicular to the sightline.
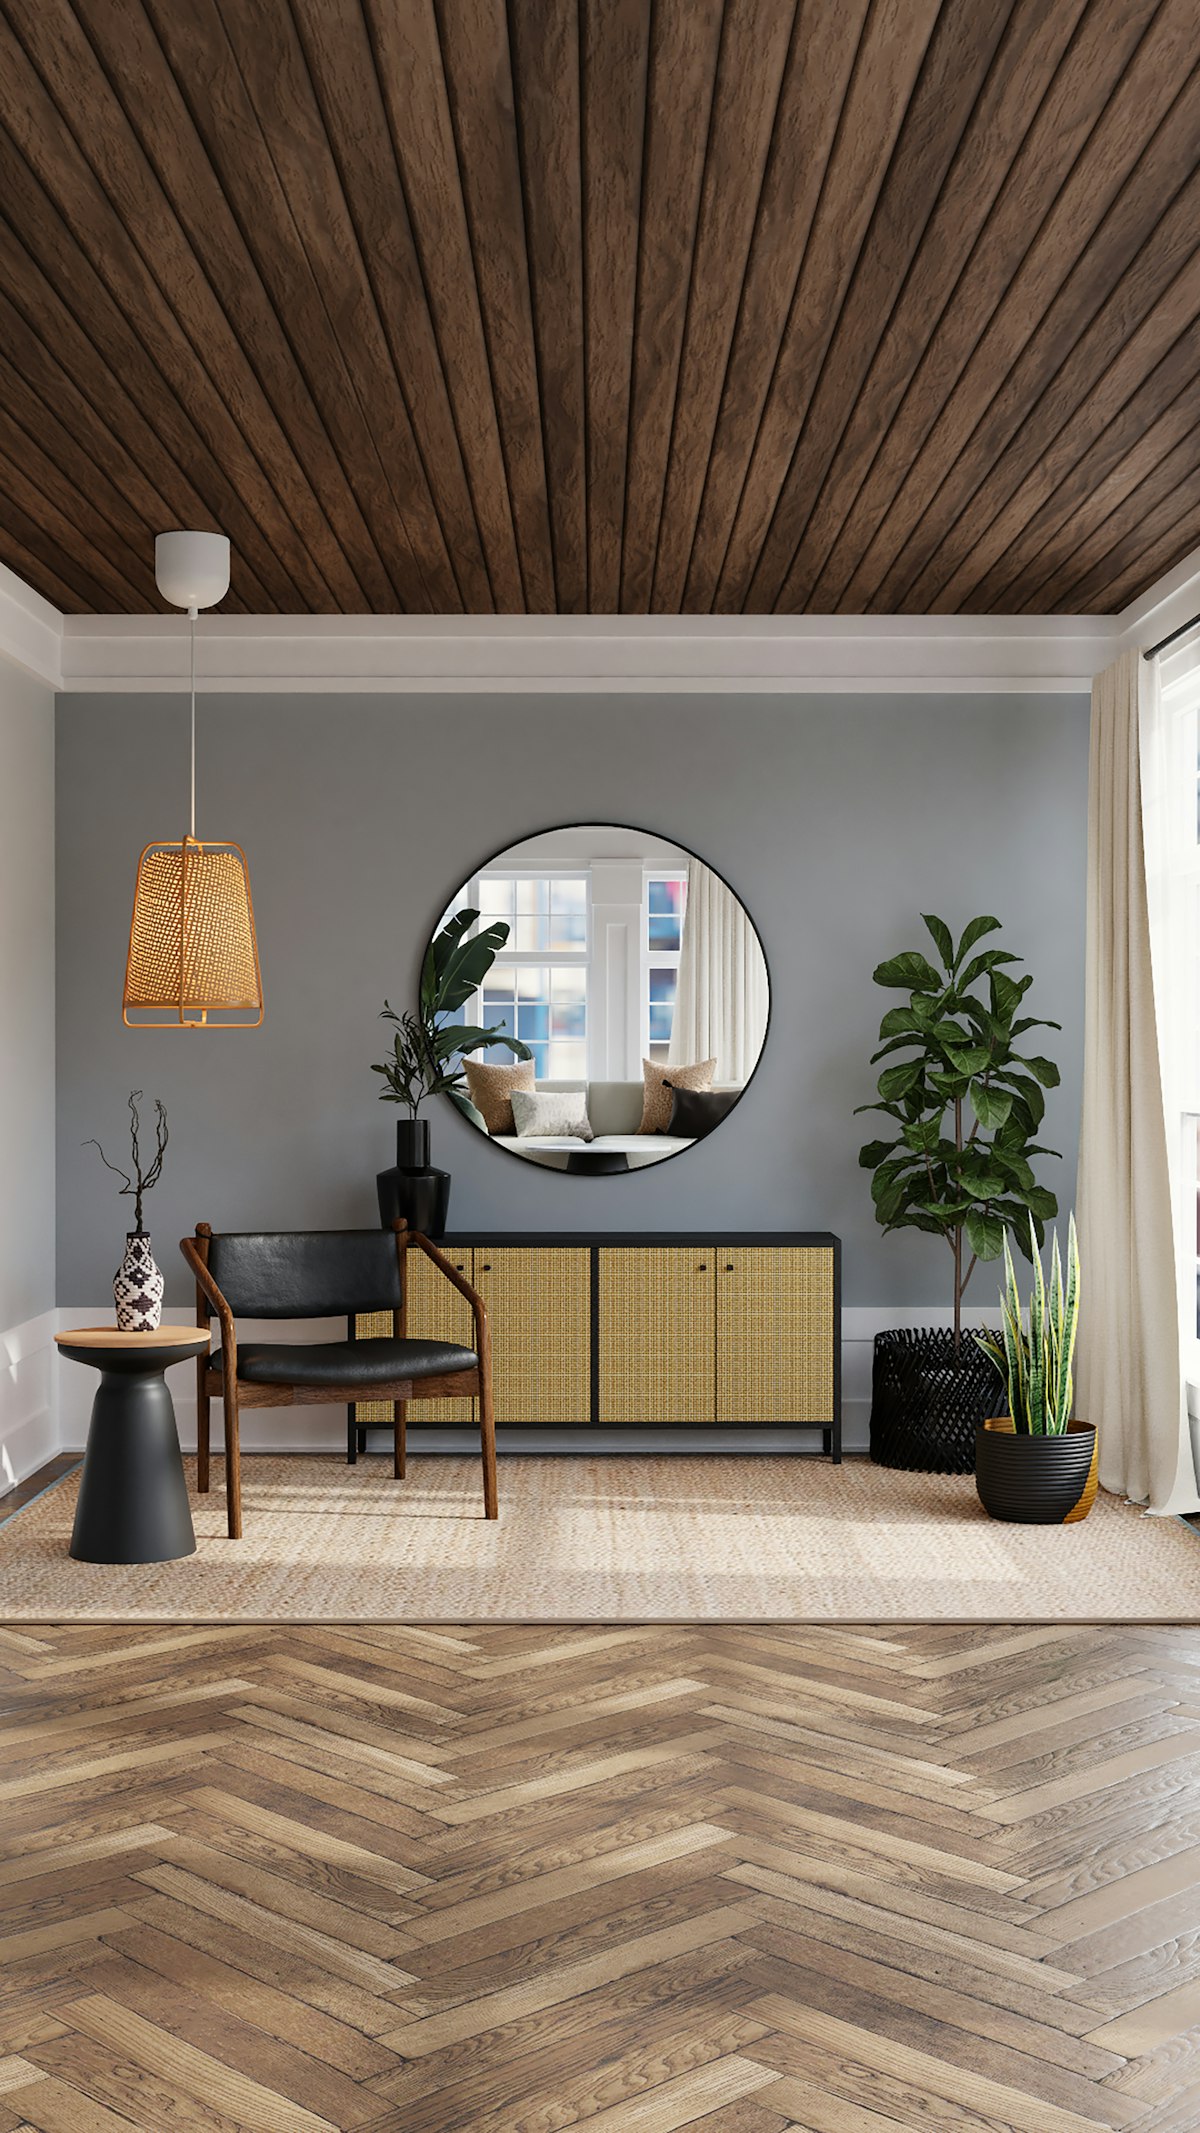
A credenza or console table at 32–36 inches (81–91 cm) behind the sofa creates a zone boundary that is visible above the sofa back when standing, but disappears from view when seated. This is the most effective furniture height for open concept zone definition.
Step 6: Address the Kitchen’s Visual Presence
The kitchen exists in the open concept space permanently. Appliances, countertop clutter, and cabinet hardware are always visible from the living and dining zones. This requires either aesthetic consistency across the entire space or deliberate visual management.
Two approaches work:
Consistent materials: Use the same metal finish (brass, matte black, brushed nickel) across kitchen hardware, lighting fixtures, and furniture legs throughout the space. The eye reads repetition of material as intentional design. When the pendant light over the dining table uses the same brass as the kitchen faucet, the zones connect.
Cabinetry as backdrop: Panel-front appliances and handleless cabinets effectively remove the kitchen from the visual field when you are not standing in front of it. If a full kitchen renovation is not in scope, consistent organization of countertops has nearly the same effect: a counter with one appliance, one cutting board, and a plant reads as a designed surface. A counter with four small appliances, mail, and a charging cable reads as clutter at 20 feet.
Common Mistakes to Avoid
Scaling to the full room. Buying a sectional sofa because the open concept space is 800 square feet when the living zone is 300 square feet. Furniture should be scaled to the zone, not the total floor area.
No rug, or a rug that is too small. Both leave furniture floating without visual anchoring. See the table in Step 2 and size up when in doubt. A rug that is slightly too large looks intentional. A rug that is too small looks like it arrived in the wrong box.
Parallel furniture rows. Positioning the sofa and the dining table both parallel to the long wall of the space creates a train-car arrangement with two stripes of furniture and empty corridor space between them. Break the parallel by rotating the dining table or angling the seating group.
Identical ceiling height throughout. If you have the option, varying ceiling treatment by zone (a dropped soffit over dining, exposed beams over living) creates differentiation that does the work of walls without blocking space. If you do not have this option, lighting can create similar zone definition.
For more on furniture arrangement in specific room types, see our guide to living room layouts and our article on making a small living room look bigger.