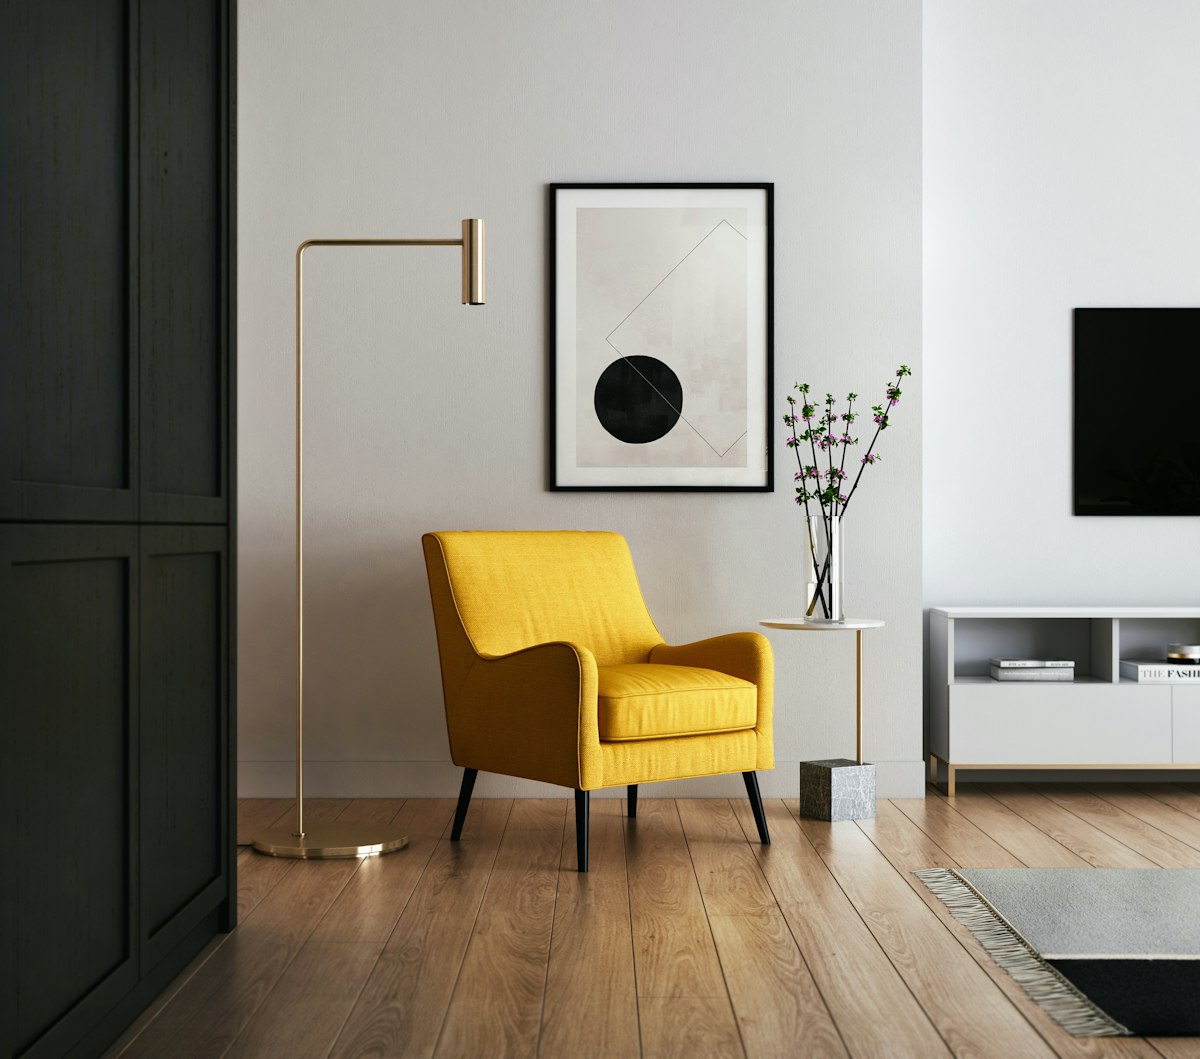
Most people arrange bookshelves by function: all the books together, organized however makes retrieval easy. The result is a solid wall of spines in varying sizes and colors that reads as a flat, undifferentiated mass from across the room. It stores books. It doesn’t contribute anything visually.
Styled bookshelves look different because they follow a different organizing logic. The books are still there, but they’re interspersed with objects, negative space, and variation in a way that gives each shelf its own composition. You don’t need new objects. You need a different approach.
The Core Principle: Each Shelf Is a Separate Composition
The mistake most people make is treating the entire bookcase as one surface to fill. A well-styled bookshelf is actually 4–6 individual shelves, each with its own visual composition. Each shelf should have:
- One anchor: the largest, visually dominant item (a large art book, a tall plant, a sculptural object)
- Supporting elements: 2–4 secondary items that relate to the anchor
- Negative space: at least one deliberately empty section on each shelf
- Variation in height: no shelf should have items all at the same height
If you apply this logic shelf by shelf, the full bookcase coheres without requiring you to design the whole thing at once.
Step 1: Empty the Entire Bookshelf First
Start from zero. Remove everything from every shelf and sort it into categories on the floor:
- All books (sorted by height, short, medium, tall)
- All small objects (frames, figurines, small plants, candles)
- All medium objects (vases, baskets, bookends, plants in 4”+ pots)
- All large objects (art books, large plants, sculptures, larger frames)
Edit while you sort. Bookshelves accumulate objects that have no aesthetic value and no sentimental value, they simply exist. Hold each object and ask: would I place this here intentionally? If not, it belongs in another room or out of the house.
Step 2: Establish a Color Logic
Before placing anything back, decide on a color approach. There are two:
Spine-color grouping: arrange books by color family, all the blues together, all the whites and creams, all the earth tones. This produces the Instagram-perfect result because the shelf reads as intentional color blocks rather than visual noise. The trade-off: you can no longer find books by title without scanning colors.
Intentional mix: keep books roughly in the order you want them but remove or relocate books with particularly disruptive cover colors. Often 5–10 books with particularly jarring covers can be moved to a less visible shelf or turned spine-in (facing the shelf wall) without sacrificing access to the books you actually read.
Turning spines in is not a cheat. A bookshelf with some spines facing backward and some facing out looks more deliberate than a shelf trying to display every spine equally. Group spine-in books together rather than scattering them.
Step 3: Set Anchors on Each Shelf
Tall objects read as anchors because they interrupt the horizontal rhythm of a shelf and the eye moves to them first. Typical anchors:
- Plants: a trailing pothos or snake plant in a decorative pot commands a shelf’s attention more effectively than any other single object. They also introduce an organic element that most bookshelves lack.
- Large art books: a stack of 3–4 oversized books turned horizontally creates a platform and a visual anchor simultaneously.
- Sculptural objects: ceramic vessels, stone objects, meaningful souvenirs with physical presence.
Place one anchor per shelf, then build around it. The anchor doesn’t have to be centered, off-center placement often reads as more considered.
Step 4: Vary Book Orientation Deliberately
Three orientations to use:
Vertical (spine out, standard): the default. Use for most books.
Horizontal stack: 3–5 books stacked flat, spines showing upward. Creates a horizontal platform element at a lower visual level. Place objects on top of stacks to create layering.
Vertical stack against the shelf side: books standing vertically but pushed to one side of a section, with space or objects beside them. Creates negative space without removing books.
Vary orientation by shelf, not by random book. One shelf with a horizontal stack at the left end, vertical books in the middle, and an object at the right reads as composed. Random horizontal books scattered across multiple shelves reads as cluttered.
Step 5: Create Depth with Layering
Flat arrangement, everything in a single plane, looks static because the eye has no depth cues. Layering adds apparent depth:
- Lean a framed print against the shelf back wall behind a row of books
- Place small objects in front of books, breaking the shelf edge plane
- Place a smaller plant in front of a larger object to create foreground/background
- Let trailing plants spill over the shelf edge to break the sharp horizontal line
The 2-inch rule: items positioned at the front edge of the shelf, between the object plane and the shelf edge, draw the eye forward. Use this deliberately for featured objects you want noticed.
Step 6: Manage Negative Space
This is the step most people skip because it feels wasteful. A shelf with 30% negative space reads as “edited” and deliberate. A shelf packed to capacity reads as storage.
Negative space placement:
- One section per shelf should be empty or nearly empty
- Negative space next to an anchor emphasizes the anchor
- Negative space at the end of a row creates a visual pause before the next grouping
You do not have to remove books to create negative space. Moving books 8 inches from one end of a shelf creates a section of shelf-depth at the other end. That counts.
Step 7: Add Organic Elements
Bookshelves without plants, natural materials, or organic textures read as flat. The eye wants variety in texture and material. Standard additions:
- Plants: small succulents, trailing pothos, snake plants in decorative pots. One plant per shelf is enough; more than two per shelf starts competing with the books.
- Natural objects: stones, coral, driftwood pieces. Small organic forms create texture contrast against books and smooth ceramics.
- Baskets or woven items: a small woven basket on a shelf introduces pattern and texture without visual complexity.
Go light here. One or two organic elements per bookshelf is sufficient. Every shelf with plants looks like a plant nursery.
Common Mistakes and How to Fix Them
Everything is the Same Height
Fix: introduce horizontal book stacks, vary plant heights, use objects taller than your average book on some shelves.
Too Many Small Objects
Fix: edit down to 1–2 objects per shelf section. Small objects in groups of 5+ read as clutter regardless of how they’re arranged.
No Negative Space
Fix: push all books on one shelf to the left, leaving the right third empty. Add a single object in that space or leave it empty. Notice whether the shelf looks better. It will.
All Books, No Objects
Fix: replace the bottom shelf entirely with 3 objects and no books. The visual contrast between an object-only shelf and book-heavy shelves above it creates interest.
Books All the Same Size
Fix: place oversized art books or large coffee-table books horizontally on one shelf. The size change interrupts the visual monotony of evenly sized spines.
A Practical Shelf-by-Shelf Template
If you’re starting from scratch and want a formula:
- Top shelf: anchor object + small plant + 4–6 books one-third of shelf width, rest empty
- Second shelf: horizontal book stack (3–4 books) + tall object to one side + 6–8 vertical books to the other
- Third shelf: 8–10 vertical books centered + framed print leaning against back wall + one small object front-staged
- Fourth shelf: basket or woven object + trailing plant spilling over edge + 6 books
- Bottom shelf: 2–3 large objects, no books or minimal books
This is not a rule. It’s a starting point. Adjust based on what you actually own.
The Objects Worth Owning If You’re Starting from Zero
If your shelves are lacking non-book objects, these are the best investments:
- One quality ceramic vessel: a matte-glazed vase or vessel in a neutral tone. $20–$60 at most ceramic studios or IKEA’s Knixhult range.
- One trailing plant: pothos or heartleaf philodendron. Near-indestructible and provides the organic trailing element that makes bookshelves look alive.
- 2–3 framed prints: simple black frames with artwork that suits the room’s palette. IKEA RIBBA frames work fine.
Everything else, books, objects, baskets, you likely already own.
Related Reading
The Bottom Line
Styled bookshelves follow a structure: anchor, supporting elements, negative space, height variation. The materials you need are already on your shelves. The work is in how you deploy them. Empty everything first, sort it, decide on a color logic, place anchors, vary book orientation, layer depth, protect negative space, add one organic element. That’s the process. The result is not complicated, but it does require intention that random filling never produces.